
10 Tips on How to Illustrate a Family Photo on ProCreate

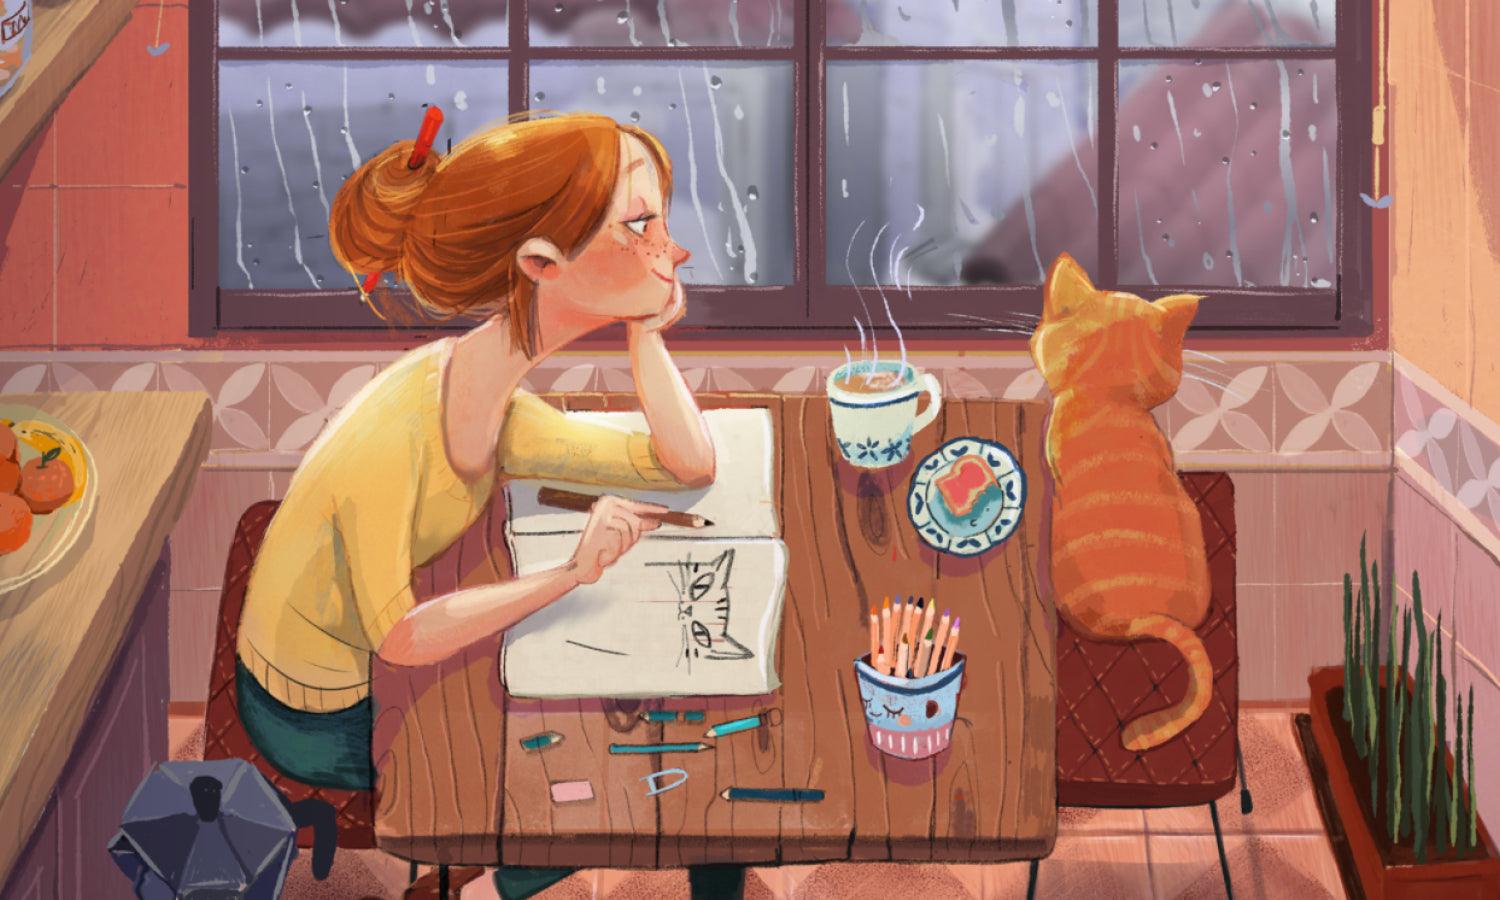
Created by illustrationsby_elle | https://www.instagram.com/p/CpjI8v-Pf6s/
In the realm of digital art, the ability to illustrate personal moments and memories holds a unique charm. ProCreate, a leading digital illustration app, has emerged as a favorite among artists, designers, and enthusiasts looking to bring their creative visions to life. Illustrating a family photo on ProCreate not only allows for the preservation of precious moments in a distinctive and artistic manner but also offers an avenue for personal expression and creativity.
This guide aims to navigate you through the enchanting process of transforming a beloved family photograph into a captivating illustration using ProCreate. Whether you're a seasoned artist or a beginner eager to explore the potential of digital art, ProCreate provides an intuitive and versatile platform to illustrate with ease. From choosing the right photo to applying the final touches, each step will be a journey through the layers, brushes, and techniques that make digital illustration an incredibly rewarding experience.
Embrace the opportunity to tell your family's story in a way that transcends traditional photography. As we delve into the world of digital illustration, let's explore how ProCreate can turn your family photos into timeless pieces of art, one brushstroke at a time.
Import Your Selected Photo as Reference
When beginning your journey to illustrate a family photo in ProCreate, importing your selected photo as a reference is a critical step. This process transforms your digital canvas into a roadmap, guiding your illustration from start to finish. ProCreate, a powerful and intuitive digital painting app, simplifies this process, allowing artists to import photos seamlessly.
To import your photo, start by opening ProCreate and tapping the photo icon within the "Actions" menu, usually symbolized by a wrench. This leads you to the "Add" section, where selecting "Insert a photo" will prompt you to choose an image from your device's library. Once selected, the photo will automatically appear on your canvas. You can adjust the size and position to fit your project's needs, ensuring that every detail from the original image is visible and ready to be transformed into an illustration.
This step not only serves as the foundation for your illustration but also ensures that your artwork maintains a connection to the original moment captured in the photo. The ability to refer back to this image throughout the illustration process allows for a more accurate and detailed depiction of your family's unique characteristics and emotions.

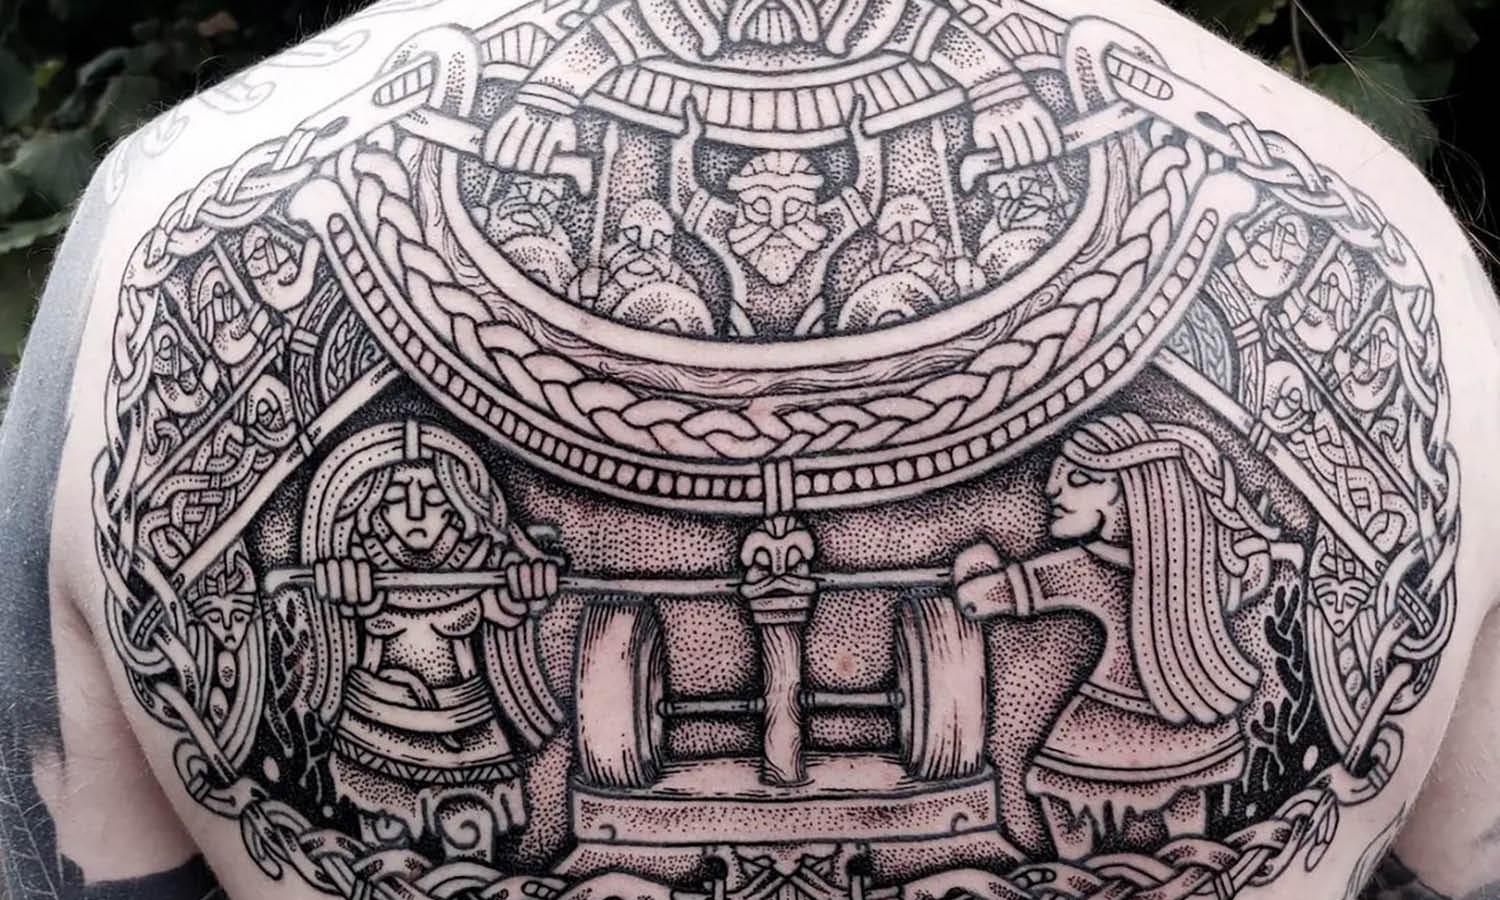
Created by bingkai.ilustrasi | https://www.instagram.com/p/Czuci0iyf2w/
Create a New Layer for Sketching
After importing your reference photo into ProCreate, the next essential step is to create a new layer for sketching. This layer will serve as the backbone of your illustration, where the initial outlines and shapes of your family members begin to take form.
In ProCreate, layers are a powerful feature that enables artists to segment their work, making adjustments and edits without affecting the underlying images. To create a new layer, tap the layers panel—indicated by two overlapping squares—and then tap the "+" icon at the top right of the panel. This new layer will appear above your reference photo, allowing you to sketch freely while keeping the original image intact and unaltered.
Using a pencil brush from ProCreate's extensive brush library, start sketching the basic outlines of your family members over the reference photo. This sketching layer can be as detailed or as simplistic as you prefer, serving primarily to map out the composition and essential features of your subjects. The beauty of working in layers means that any mistakes can be easily corrected or adjusted without compromising the overall illustration.
Creating a distinct sketching layer in ProCreate not only organizes your workflow but also encourages experimentation and creativity. As you illustrate, this layer becomes a guide, ensuring that your final artwork retains the essence and emotion of the original family photo, while also allowing the freedom to infuse your personal artistic style into the piece.
Begin with Basic Shapes
The process to illustrate a family photo in ProCreate often starts by breaking down complex visual elements into simpler, basic shapes. This foundational step is crucial for both novice and seasoned artists alike, as it lays the groundwork for the entire illustration. By focusing on basic shapes, you can establish proportions, positioning, and the overall composition of your family portrait with greater ease and accuracy.
In ProCreate, begin by creating a new layer on top of your sketching layer. This separation allows you to experiment without altering your initial sketches. Use the drawing tools—such as the ellipse, rectangle, and freehand brush—to outline the basic shapes that compose each family member's figure and facial features. For example, a circle can represent a head, while rectangles can form the body and limbs.
This method of constructing your illustration ensures that the underlying structure of your subjects is both balanced and proportionate. It simplifies complex figures into manageable sections, making the task of illustrating each family member less daunting. Additionally, it provides a clear path for further detailing and refinement in subsequent steps.
As you progress, you may adjust the opacity of this layer to better see your reference photo and initial sketches, ensuring that the basic shapes align correctly with your vision. This approach not only streamlines the illustration process in ProCreate but also enhances the accuracy and realism of your final artwork.

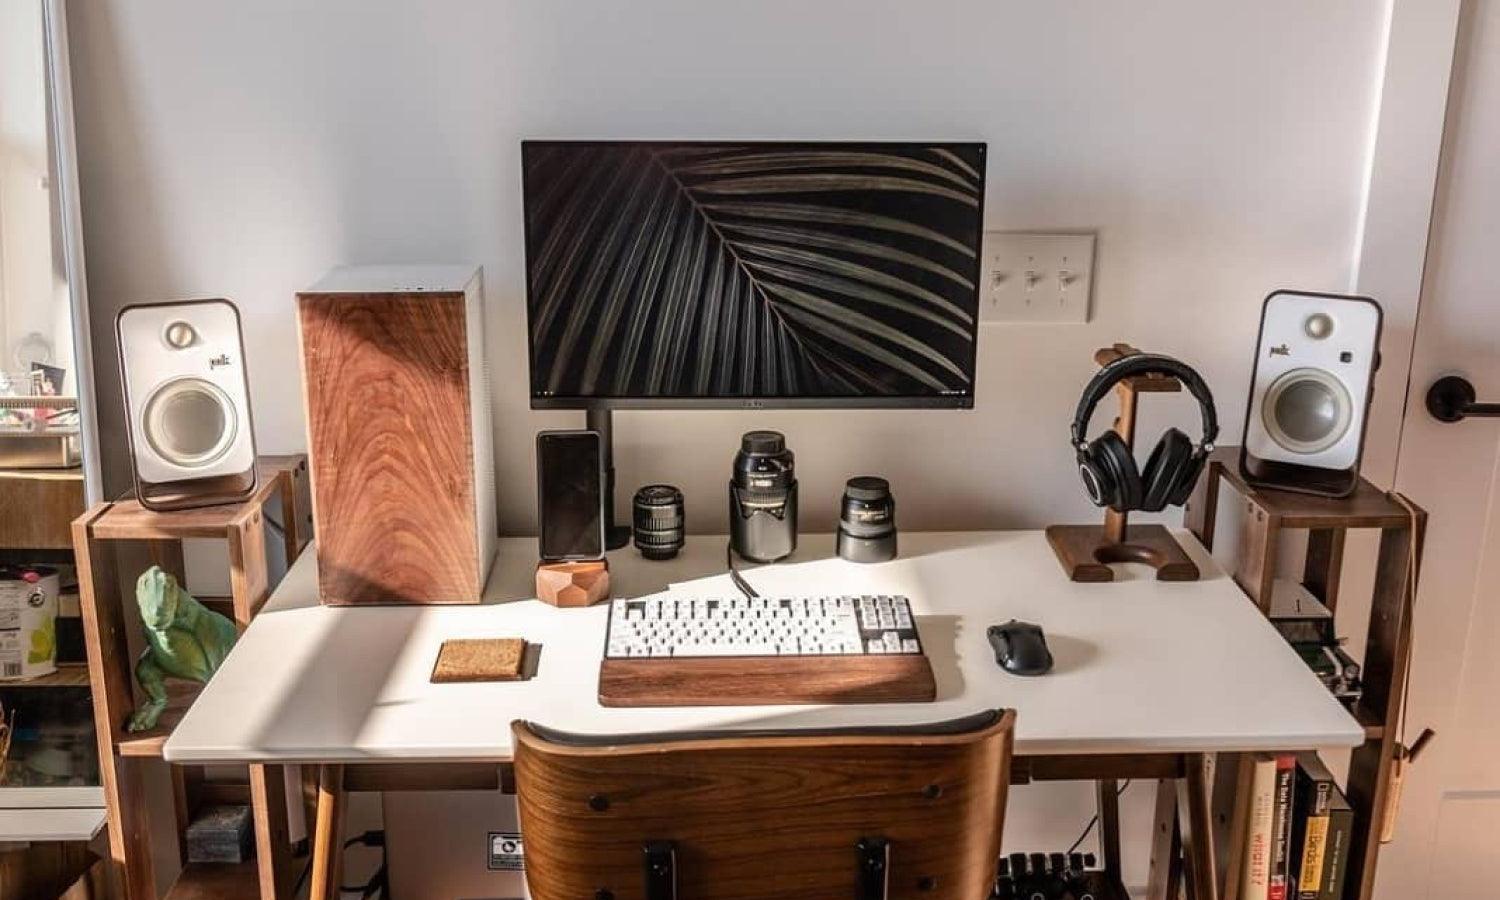
Created by drawtrip | https://www.instagram.com/p/C32T3Tjv62a/
Refine Your Sketch
After laying down the basic shapes, the next step in illustrating a family photo in ProCreate is to refine your sketch. This stage involves transitioning from the broad outlines of basic shapes to the more detailed and nuanced contours of your subjects. Refinement is where your illustration begins to come alive, capturing the unique characteristics and personalities of each family member.
To refine your sketch, focus on the layer you've dedicated to outlining basic shapes. Reduce the opacity of this layer to use it as a guide, while creating a new layer on top for your refined sketch. Using a finer brush, start to detail the facial features, hair, clothing, and other specifics that define the individuals in your family photo. Pay close attention to the expressions, the way the light falls on their faces, and the textures of their attire.
This phase is where patience and attention to detail are paramount. Zoom in on areas that require intricate work, and don't hesitate to undo and redo strokes until they accurately represent the subject. ProCreate's vast array of brushes allows you to mimic various textures effectively, providing realism to elements like hair, fabric, and skin tones.
Remember, the goal of refining your sketch is to bridge the gap between the preliminary outlines and the final illustration. It's about enhancing the likeness and ensuring that every stroke contributes to a recognizable and emotive portrayal of your family. This careful, detailed work lays a solid foundation for the coloring and finishing touches that follow, ensuring your illustration in ProCreate captures the essence and beauty of your family photo.
Fine-Tune Facial Features
Fine-tuning facial features is a critical phase when you illustrate a family photo in ProCreate, as it adds depth, personality, and realism to your artwork. This stage demands a keen eye for detail and a deep understanding of human anatomy, ensuring that each family member's unique characteristics are accurately represented.
Begin by zooming into the faces on your refined sketch layer. Using a fine brush, pay special attention to the eyes, nose, mouth, and ears. Remember, even the slightest curve or line can significantly impact the overall likeness of the portrait. Consider the shape of the eyebrows, the depth of the eye sockets, and the curve of the lips. Each feature should reflect the individual's expressions and emotions captured in the original photo.
Shadows and highlights play a pivotal role in adding dimension to the facial features. Study the light source in your reference photo to accurately illustrate where the light falls and where the shadows form. ProCreate's blending tools can be invaluable here, allowing you to create soft transitions between light and dark areas, thus bringing the faces to life.
Additionally, consider the skin tones and textures. ProCreate offers a vast palette of colors and brushes that can mimic the look of real skin. Layering different tones and using subtle texture brushes can add a natural feel to the illustration, enhancing its realism.
Fine-tuning facial features is perhaps the most personal part of illustrating a family photo in ProCreate. It's where the essence of each family member starts to shine through, transforming your illustration from a mere depiction to a vivid, emotional capture of your loved ones.

Created by designby.demi | https://www.instagram.com/p/CWQaDc1PMvk/
Apply Base Colors
Applying base colors is a foundational step in bringing your family photo illustration to life in ProCreate. This phase involves selecting and applying the initial layers of color that form the groundwork for further detailing and texturing. It requires a thoughtful approach to color selection, ensuring that the hues match the original photo's tones while also allowing for artistic interpretation.
Start by creating a new layer beneath your refined sketch but above the basic shapes layer. This positioning ensures that your sketch lines remain visible, guiding your color application. Select a broad brush to fill in large areas with solid colors, focusing on getting the general color scheme of the skin, hair, clothing, and background elements accurately laid down.
When selecting colors, consider the lighting and atmosphere of the original photo. ProCreate's color picker tool allows you to sample colors directly from your reference image, ensuring consistency. However, don't be afraid to adjust the shades for artistic effect or to enhance the illustration's mood.
Uniformity in the base color application is key. Use a consistent hand to fill in areas, avoiding streaks or gaps that could disrupt the overall look. Remember, this layer is just the beginning; nuances, shadows, and highlights will be added later to bring depth and realism to your illustration.
Applying base colors effectively sets the stage for your family photo illustration, creating a cohesive color palette that ties the entire piece together. This step in the ProCreate process is where your illustration begins to diverge from the sketch, starting to capture the vibrant essence and atmosphere of the original moment.
Create Depth with Shading and Highlights
Creating depth with shading and highlights is a transformative step in illustrating a family photo in ProCreate. This technique involves strategically applying light and shadow to imbue your artwork with a three-dimensional quality, making your subjects appear more lifelike and dynamic. Mastery of this process is crucial for artists looking to elevate their illustrations from flat, two-dimensional images to realistic representations.
After applying base colors, add a new layer specifically for shading. Select a darker shade of your base colors to start adding shadows. Consider the light source in your original photo to guide where shadows and highlights should fall. Shadows are not just darker areas but are crucial for defining the contours of faces, clothes, and background elements, adding volume and depth.
Similarly, create another layer for highlights. Choose a lighter shade of your base colors or even a soft white to simulate the effect of light hitting surfaces. Apply highlights to the tops of cheeks, noses, and any areas where light naturally reflects. This not only enhances the three-dimensional effect but also adds vitality to the portrait.
In ProCreate, the soft brush tool is invaluable for blending shadows and highlights seamlessly into the base colors. The opacity and blend mode of these layers can be adjusted to achieve the desired intensity and subtlety of light and shadow effects.
Creating depth with shading and highlights requires patience and practice. It's about understanding how light interacts with forms and surfaces, transforming a flat illustration into a vivid, lifelike portrait. This step in the illustration process in ProCreate is where your artistic skills truly shine, bringing depth, realism, and emotion to your family photo illustration.

Created by eliseagencydesigns | https://www.instagram.com/p/CwjJSLFpKGd/
Refine Edges and Add Final Touches
Refining edges and adding final touches are crucial steps to illustrate a family photo in ProCreate, ensuring that your artwork stands out with a polished and professional finish. This phase is about scrutinizing every detail, making adjustments to edges for sharpness and clarity, and incorporating subtle details that bring your illustration to life.
Begin by zooming in on your illustration and examining the edges of each element, from the figures to the background. Use the eraser tool with a fine tip to clean up any smudges or overshooting lines, ensuring that each boundary is crisp and clear. If some areas require redefinition, the smoothing tool can help create smoother, more natural transitions between colors and textures.
Adding final touches involves enhancing the illustration with small, yet impactful details. This could include adding textures, such as fabric patterns on clothing or strands of hair, that were too fine for earlier stages. You might also adjust the color balance or saturation to better capture the mood of the original photo or your artistic vision.
This is also the time to step back and assess your illustration as a whole. Adjust the overall lighting, add subtle shadows or reflections that might have been overlooked, and ensure that the composition is balanced. Adding a vignette effect or focusing on particular areas can help draw the viewer's attention to the central subjects of your family photo.
Refining edges and adding final touches are about enhancing the overall quality and impact of your illustration in ProCreate. This meticulous attention to detail ensures that your family photo is not just replicated but transformed into a piece of art that captures the essence and emotion of the moment.
Incorporate Background Elements
Incorporating background elements is a pivotal step when you aim to illustrate a family photo in ProCreate. This process adds depth, context, and ambiance to your artwork, making it more than just a simple portrait but a narrative piece that tells a story. Understanding how to effectively add these elements can elevate your illustration, providing a cohesive and immersive experience.
Start by considering the original setting of your photo. Whether it’s indoors or outdoors, try to capture the essence of the environment. In ProCreate, you can use different brushes to mimic textures such as grass, leaves, wood, or fabric, giving your background a lifelike quality. Pay attention to the light source in your photo to ensure that the shadows and highlights in your background align with those on your subjects, maintaining consistency throughout the piece.
If the original background is too complex or distracting, consider simplifying it. A minimalist approach can help focus attention on the family members, using subtle gradients or abstract shapes to suggest an environment without overwhelming the main subjects. ProCreate’s vast palette and blending tools can be instrumental in creating backgrounds that complement the overall mood of the portrait.
Moreover, adding background elements offers an opportunity to inject personal touches or symbolic details into your illustration. Maybe it’s a favorite family location or items that hold sentimental value. These details can make your artwork uniquely personal and meaningful.
Remember, the background should support and enhance the portrayal of the family, not compete with it. By thoughtfully incorporating background elements in ProCreate, you can create a balanced, engaging, and memorable illustration that captures not just the likeness but the spirit of the family.

Created by littlest_birdie | https://www.instagram.com/p/CytdC5_uOeP/
Use Masks for Non-Destructive Editing
Using masks for non-destructive editing is a powerful technique in ProCreate that allows you to illustrate with flexibility and precision, preserving the integrity of your original layers. Masking is an essential skill for artists looking to refine their illustrations without permanently altering the underlying work, offering a safety net that encourages experimentation.
Layer masks in ProCreate work by concealing or revealing parts of the layer they are applied to, based on the grayscale values of the mask. White reveals, black conceals, and the various shades of gray in-between control the transparency of the layer. This functionality is particularly useful when you want to make adjustments to specific areas of your illustration without the commitment of erasing or permanently changing the layer.
To use a mask in ProCreate, simply add a mask to the layer you wish to edit. Then, using a brush or eraser, paint on the mask in black to hide parts of the layer or white to reveal them. This method is incredibly beneficial for refining edges, adjusting colors, or adding shadows and highlights without the risk of losing your original work.
Masks are also invaluable for creating complex, layered illustrations. They allow you to blend layers together seamlessly, adjust the opacity of specific elements, or apply texture effects in a controlled manner. Because masks are non-destructive, you can always adjust or remove them if you change your direction or make a mistake.
Incorporating masks into your workflow in ProCreate not only enhances your ability to illustrate with precision but also promotes a more efficient and flexible approach to digital art. By mastering non-destructive editing techniques, you can experiment more freely, secure in the knowledge that your original layers remain untouched and editable at any stage of the process.
Conclusion
Illustrating a family photo in ProCreate transforms a mere snapshot into a piece of art, imbued with emotion and personal flair. This journey from importing a reference photo to adding the final touches demonstrates the power and flexibility of ProCreate for artists at any skill level. The ability to refine sketches, apply colors, and adjust details with precision allows for a deeply personal rendition of a cherished memory. Embracing the techniques discussed, such as using masks for non-destructive editing and fine-tuning facial features, empowers you to create illustrations that are not just visually captivating but also resonate with the essence of the subjects. ProCreate offers an expansive canvas for creativity, making it an indispensable tool for anyone looking to illustrate life's precious moments.
Let Us Know What You Think!
Every information you read here are written and curated by Kreafolk's team, carefully pieced together with our creative community in mind. Did you enjoy our contents? Leave a comment below and share your thoughts. Cheers to more creative articles and inspirations!
Related Articles


Leave a Comment