
10 Tips on How to Illustrate an Arrow with Adobe Illustrator
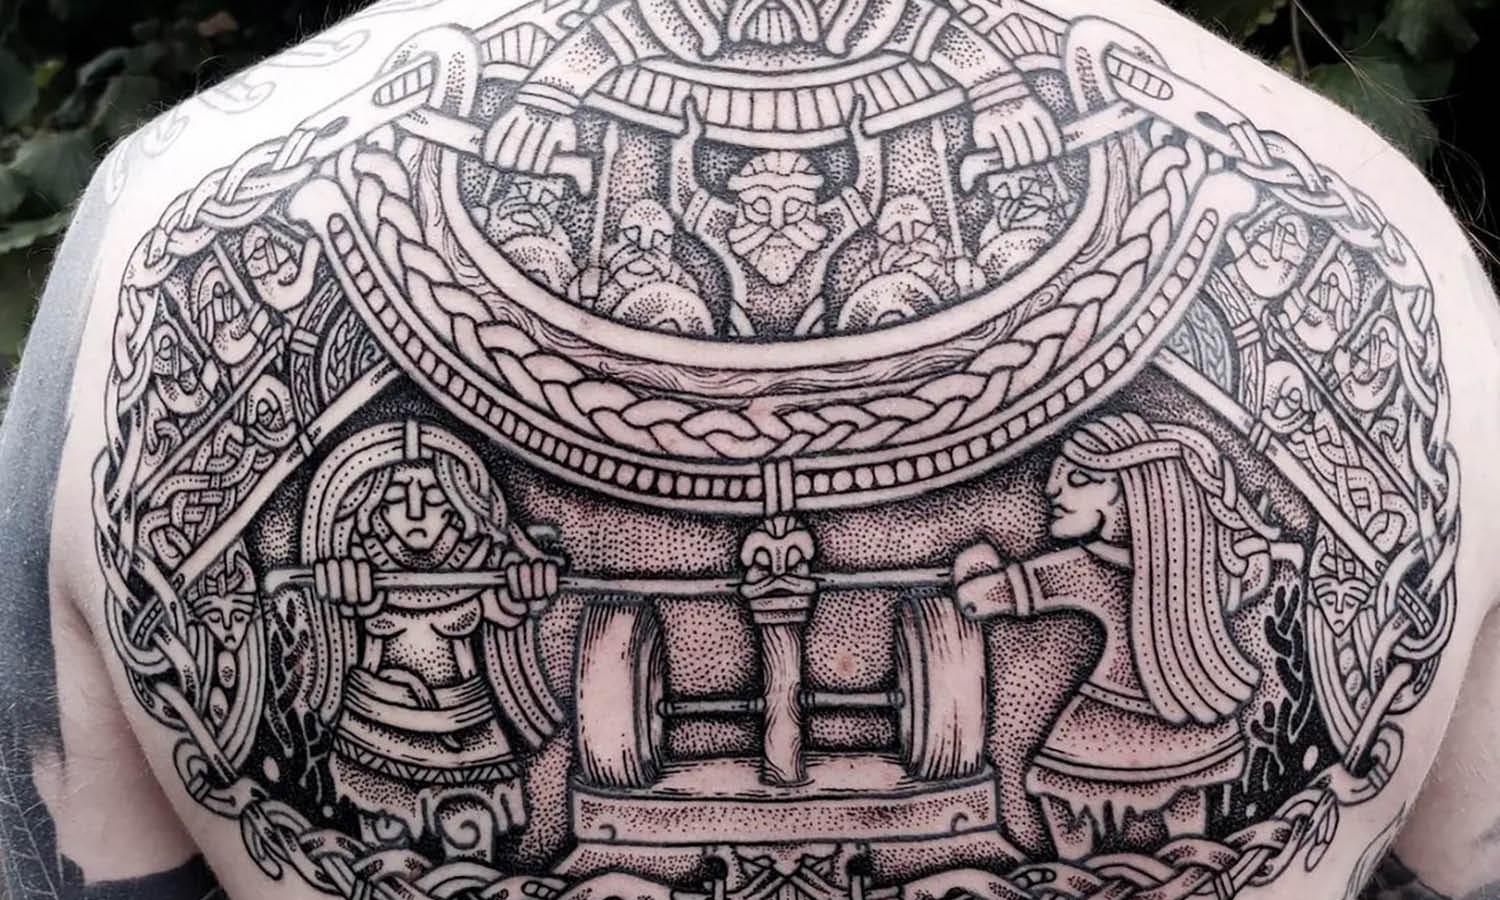
Created by tyler_hawotte | https://www.instagram.com/p/BeV-6sVh6us/
In the vast universe of digital design, the arrow symbol holds significant power and versatility. Beyond its basic function of indicating direction, an arrow crafted with Adobe Illustrator can embody elegance, strength, or motion, enhancing the overall impact of a design. Adobe Illustrator, a cornerstone tool for graphic designers, offers a plethora of features and capabilities to create not just any arrow, but one that perfectly aligns with the intended message and style of your project.
Whether you're aiming to incorporate arrows into logos, infographics, user interfaces, or promotional materials, mastering the art of arrow illustration in Adobe Illustrator is an invaluable skill. The precision and flexibility provided by Illustrator make it possible to design arrows that are simple or complex, traditional or avant-garde, with ease and efficiency.
This article is designed to guide you through the process of illustrating arrows in Adobe Illustrator, offering 10 essential tips to elevate your design. Each tip is carefully curated to enhance your understanding and execution of arrow illustration, ensuring that your designs not only communicate effectively but also captivate the viewer's attention. Let's embark on this creative journey to harness the full potential of arrows in Adobe Illustrator, unlocking new dimensions in your design projects.
Understand the Basics of Adobe Illustrator
Adobe Illustrator, a cornerstone of graphic design software, offers a comprehensive toolkit for creating vector art and illustrations, including the precise and versatile creation of arrows. Before diving into the complexities of arrow illustration, familiarizing yourself with Illustrator’s workspace, tools, and panels is crucial. Illustrator operates on a vector-based system, allowing for infinite scalability of your designs without loss of quality. This feature is particularly beneficial for designing arrows that might need to be resized or repurposed across various media.
Starting with the basics, explore the Toolbar, where you'll find essential tools for creating shapes, lines, and more. The Properties and Layers panels are also critical; they allow you to adjust attributes of your objects and organize your artwork efficiently. For beginners, mastering the Pen Tool is a milestone. This tool offers unparalleled control in drawing curves and straight lines, making it ideal for custom arrow design. Additionally, the Pathfinder panel is a powerful ally in creating complex shapes by combining simple ones, often needed in more intricate arrow illustrations.
As you become more comfortable with these fundamentals, experimenting with Illustrator’s vast array of features will become second nature. Remember, mastering the basics is your first step towards leveraging Adobe Illustrator’s full potential for creating striking and professional arrows.
Created by curiouslychase | https://www.instagram.com/p/CqT2v1XM_8j/
Utilize the Line Segment and Arrowheads
Creating arrows in Adobe Illustrator is a straightforward process, thanks to the Line Segment Tool and the Arrowheads feature. These tools are indispensable for efficiently adding arrows to your designs, whether for infographics, UI design, or directional signage.
To start, select the Line Segment Tool () from the Toolbar. Click and drag on your canvas to draw a straight line; this will serve as the shaft of your arrow. For precise control over the line’s length and angle, click once on the canvas to open the Line Segment Tool dialog box, where you can input exact values.
Once you have your line, it’s time to add the arrowhead. With the line selected, go to the Stroke panel. Here, you’ll find options for adjusting the weight of the line, giving your arrow the desired thickness. Scrolling down, you’ll encounter the Arrowheads dropdowns. Illustrator provides a variety of pre-designed arrowheads and tails that you can apply to either end of your line segment. Select the style that best fits your design needs. You can also adjust the scale of the arrowheads to ensure they are proportional to the line segment.
For designers looking to create custom arrow shapes, the Pen Tool and Pathfinder panel can be used in conjunction to modify or create unique arrowheads. However, the Line Segment Tool combined with the Arrowheads feature offers a quick and effective method to incorporate arrows into your projects.
By mastering these tools, you can enhance your designs with clear, communicative arrows, leveraging Adobe Illustrator’s capabilities to the fullest.
Explore the Stroke Panel for Arrowhead Options
When working in Adobe Illustrator, one of the key features for creating precise and visually appealing arrows is the Stroke Panel. This panel offers a plethora of options for customizing arrows, ensuring that designers can create the exact look they need for their projects. The Stroke Panel is not just a tool; it's a creative workshop where every adjustment can significantly change the appearance of your arrow.
Firstly, to access the Stroke Panel, select your line or path and navigate to Window > Stroke. Here, you will find options to adjust the weight of your stroke, making your arrow thicker or thinner according to your design needs. However, the real magic happens when you delve into the arrowhead options. Illustrator provides a wide variety of preset arrowhead designs that can be applied to the start or end of your line. These presets range from simple and classic arrow shapes to more intricate and decorative designs, offering flexibility for various design contexts.
Moreover, the Stroke Panel allows you to scale the arrowheads independently of the stroke weight, enabling you to maintain a consistent line thickness while adjusting the size of your arrowhead for the perfect proportion. You can also adjust the alignment of the arrowhead to ensure it sits precisely at the end of your path or overlaps with it, depending on your desired outcome.
For designers looking to create arrows in Adobe Illustrator, understanding and utilizing the Stroke Panel's arrowhead options is crucial. By experimenting with different weights, designs, and adjustments, you can craft arrows that are not only functional but also align perfectly with your project's aesthetic. This level of customization is what makes Illustrator a powerful tool for arrow design, catering to both the technical and creative aspects of design work.
Created by caspar_visual | https://www.instagram.com/p/BbK7oNUhntz/
Master the Pen Tool for Custom Arrows
The Pen Tool in Adobe Illustrator is renowned for its precision and versatility, making it an essential instrument for designers looking to create custom arrows. Unlike the pre-set arrowhead options found in the Stroke Panel, the Pen Tool allows for the creation of completely unique arrow designs tailored to specific project needs. Mastering this tool is a game-changer for those who seek to elevate their arrow illustrations beyond the standard offerings.
To begin crafting your custom arrow with the Pen Tool, select it from the toolbar or press the shortcut P. The key to creating smooth and dynamic arrows lies in understanding how to place anchor points and manipulate their direction handles. Start by plotting the main trajectory of your arrow, clicking to add points where the line changes direction. For straight arrows, a minimal number of points may suffice, but for curved or complex designs, more points will be necessary.
After laying down the path, the next step is to create the arrowhead. This can be achieved by drawing a separate shape that complements your line, ensuring that it embodies the style and direction you envision. The Pen Tool offers the flexibility to design arrowheads that are simple or intricate, geometric or organic. Once the arrowhead is created, it can be merged with the line to form a cohesive arrow symbol.
Practicing with the Pen Tool will not only improve your ability to design custom arrows but also enhance your overall Illustrator skill set. It requires patience and precision but rewards with limitless creative potential. By mastering the Pen Tool, you unlock the ability to design arrows that perfectly match your vision, adding a signature touch to your work that pre-made options cannot replicate. This tool stands as a testament to Illustrator's capacity for facilitating detailed and personalized design work, making it an invaluable asset for any designer focused on crafting distinctive arrows.
Use the Pathfinder Panel for Complex Shapes
In Adobe Illustrator, crafting complex arrow shapes becomes a seamless endeavor with the Pathfinder Panel. This powerful tool is essential for designers aiming to create intricate arrow designs that stand out. The Pathfinder Panel offers various options to combine, subtract, intersect, and exclude shapes, enabling the creation of complex arrow structures that can significantly enhance your designs.
To start, draw the individual elements of your arrow using basic shapes or paths. Then, select the components you wish to combine and open the Pathfinder Panel (Window > Pathfinder). For a unified arrow design, the "Unite" function merges selected shapes into one. Conversely, to create an arrow with a cut-out effect, the "Minus Front" option allows you to subtract the top shape from the one beneath it, perfect for crafting arrows that need to overlap with other design elements seamlessly.
Experimentation with the "Intersect" and "Exclude" functions can yield fascinating results, enabling the creation of arrows with unique negative spaces or combining multiple shapes while retaining their distinct boundaries. These techniques are particularly useful when designing logos, icons, or any graphical element where a distinct and memorable arrow is needed.
Understanding and mastering the Pathfinder Panel for your arrow designs in Adobe Illustrator can elevate your work, offering a level of sophistication and precision. This tool not only streamlines the design process but also empowers designers to push creative boundaries, ensuring your arrow not only points in the right direction but does so with style and complexity.
Created by piotrlogo | https://www.instagram.com/p/CGLKU9xjaqy/
Apply the Width Tool for Dynamic Arrows
The Width Tool in Adobe Illustrator is a game-changer for designers looking to infuse dynamism and flair into their arrow illustrations. This underutilized tool allows for the manipulation of the stroke width along any part of the path, enabling the creation of arrows that are visually engaging and tailored to the specific needs of your project.
Using the Width Tool (Shift+W), you can click and drag on any part of your arrow's stroke to adjust its width, creating tapered effects that enhance the arrow’s motion and directionality. This is particularly useful for emphasizing the beginning or end of an arrow, drawing the viewer’s eye and clearly indicating the flow of movement.
For designers aiming to achieve a more organic or hand-drawn look, the Width Tool offers the flexibility to create variations in the arrow’s stroke, mimicking the irregularities of natural lines. This can add a level of personality and warmth to your designs, making your arrows stand out in a sea of digitally perfect lines.
Moreover, the Width Tool can be applied strategically to convey different levels of emphasis within a single design. For example, thicker parts of the arrow can indicate areas of importance or focus, while thinner parts may represent secondary paths or options. This technique is invaluable in infographics, maps, and instructional designs, where clarity and hierarchy are paramount.
Mastering the Width Tool for your arrow designs in Adobe Illustrator not only adds a dynamic visual element but also enhances the communicative power of your graphics. It's a testament to how subtle adjustments can profoundly impact the effectiveness and aesthetic appeal of your designs, ensuring your arrows not only point the way but also capture the viewer's attention.
Incorporate Brushes for Textured Arrows
Adobe Illustrator's Brush tool offers a dynamic avenue for adding texture and depth to arrow designs, transforming them from mere directional indicators to elements of visual intrigue. The application of brushes to arrows can imbue your designs with a range of aesthetic qualities, from the organic and hand-drawn to the sleek and futuristic, depending on the chosen brush style.
To begin, select your arrow line and open the Brushes Panel (Window > Brushes). Illustrator comes preloaded with a variety of brush styles, including calligraphic, scatter, art, and pattern brushes. Applying these brushes to your arrow can drastically alter its appearance, offering a textured stroke that adds character and dimension. For instance, a chalk or charcoal brush can give your arrow a rustic, hand-drawn feel, ideal for projects requiring a touch of whimsy or nostalgia.
Custom brushes also unlock endless possibilities for personalized arrow designs. By creating your own brush, you can ensure your arrow perfectly complements the rest of your design, maintaining a consistent style or theme. Whether it's incorporating brand colors, mimicking specific textures, or achieving a particular line weight, custom brushes offer the ultimate control over your arrow's appearance.
Utilizing the Brush tool effectively requires experimentation. Adjusting brush settings such as size, spacing, and rotation can further refine your arrow’s look, ensuring it not only serves its functional purpose but also enhances the overall design. For designers aiming to make their arrows a focal point or to integrate them seamlessly into a larger artwork, mastering the Brush tool in Adobe Illustrator is essential, adding a level of sophistication and uniqueness to your creations.
Created by musketon | https://www.instagram.com/p/er4my-ASq1/
Experiment with Color and Gradients
Color and gradients are powerful tools in Adobe Illustrator that can elevate your arrow designs from simple directional symbols to captivating elements of your artwork. The strategic use of color not only attracts attention but also conveys mood, hierarchy, and importance, making your arrows more than just functional; they become integral to the storytelling within your design.
To start, selecting the right color for your arrow involves considering its context within the overall design. Colors can be used to signify different actions, emotions, or directions, making your arrow not only a guide but a part of the narrative. For example, a bright red arrow might denote urgency or importance, while a soft blue arrow could suggest calmness or direction.
Gradients add another layer of depth and dimension to arrow designs. In Adobe Illustrator, applying a gradient to your arrow can transform it from flat to three-dimensional, guiding the viewer’s eye with a subtle or dramatic transition of color. Gradients can simulate lighting effects, provide visual interest, or reinforce a design's overall color scheme.
To apply a gradient, select your arrow and choose the Gradient tool (G). Illustrator offers linear and radial gradients, each providing a different visual effect. Linear gradients blend colors along a straight line, ideal for emphasizing movement or direction, while radial gradients center the color transition, perfect for highlighting or focusing on a specific point.
Experimenting with color combinations and gradient directions can result in unique and effective arrow designs. Beyond their functional role, these elements can harmonize with your design’s aesthetic, enhancing the visual impact of your project. Effective use of color and gradients in arrow design not only guides the viewer’s journey through your artwork but also enriches the narrative and emotional resonance of your creations in Adobe Illustrator.
Use the Align Panel for Perfect Positioning
In Adobe Illustrator, achieving perfect alignment and distribution of elements, especially arrows, is crucial for creating balanced and professional designs. The Align Panel is a powerful tool that ensures your arrows are precisely positioned, enhancing the overall coherence and aesthetics of your artwork.
To utilize the Align Panel, first select the arrows or objects you wish to align. Navigate to Window > Align to open the Align Panel. Here, you have options to align objects to each other or to the artboard, depending on your specific needs. For instance, aligning arrows to the center of the artboard ensures they are perfectly centered, while aligning them to each other can ensure equal spacing and symmetry, essential for designs requiring orderly arrangements.
The Align Panel offers various alignment options, including aligning objects to the top, bottom, center, left, right, or middle. This versatility allows for precise positioning, whether you're creating a flowchart, infographic, or any design involving directional cues. Furthermore, the Distribute Spacing options ensure equal spacing between multiple arrows, crucial for clarity and visual appeal in complex designs.
Utilizing the Align Panel not only streamlines the design process but also eliminates guesswork, ensuring every element is exactly where it should be. For designers looking to create visually compelling and perfectly balanced compositions in Adobe Illustrator, mastering the Align Panel is indispensable. It guarantees that your arrows not only point in the right direction but do so with unmatched precision and harmony.
Created by allanpeters | https://www.instagram.com/p/CT69rnarH6q/
Implement 3D Effects for Dimensional Arrows
Adding a three-dimensional (3D) effect to arrows in Adobe Illustrator can transform them from flat graphical elements into dynamic objects that leap off the page, adding depth and realism to your designs. Illustrator's 3D features allow for the creation of dimensional arrows, providing a powerful way to enhance visual interest and guide the viewer's eye through your artwork.
To begin creating a 3D arrow, first, design your arrow in two dimensions. Once your base design is ready, select it and navigate to Effect > 3D > Extrude & Bevel. Here, you can manipulate various settings to add depth to your arrow, adjusting the extrude depth, perspective, and rotation to achieve the desired 3D effect. The preview option allows you to see your adjustments in real-time, ensuring you can fine-tune your arrow to perfection.
Experimenting with different light settings and angles within the 3D effect options can further enhance the dimensional quality of your arrow, making it stand out or blend seamlessly with the rest of your design, depending on your intentions. You can also apply different surface finishes to simulate materials, adding another layer of realism to your 3D arrows.
For designers aiming to create more engaging and dynamic visuals in Adobe Illustrator, implementing 3D effects offers a unique opportunity to elevate your arrow designs. Whether used in logos, instructional material, or digital art, 3D arrows can capture attention and add a modern, sophisticated touch to your creations. With Illustrator’s 3D tools, your arrows can point the way not just across the canvas but out of it, bringing a new dimension of creativity to your design toolkit.
Conclusion
Arrow illustration in Adobe Illustrator encompasses a broad spectrum of techniques, from simple line adjustments to the application of complex 3D effects. Mastering these methods enables designers to create arrows that are not just directional indicators but dynamic elements that enhance the overall composition of their work. As we've explored, the flexibility and power of Illustrator provide an extensive toolkit for crafting arrows that can effectively communicate direction, emphasize important content, or add a layer of visual interest to any design. Whether you're a novice or an experienced designer, leveraging these techniques in Adobe Illustrator will elevate the quality and impact of your designs, ensuring your arrows always hit the mark in both functionality and style.
Let Us Know What You Think!
Every information you read here are written and curated by Kreafolk's team, carefully pieced together with our creative community in mind. Did you enjoy our contents? Leave a comment below and share your thoughts. Cheers to more creative articles and inspirations!
Related Articles


Leave a Comment