
10 Easy Steps on How to Draw Cartoon Characters
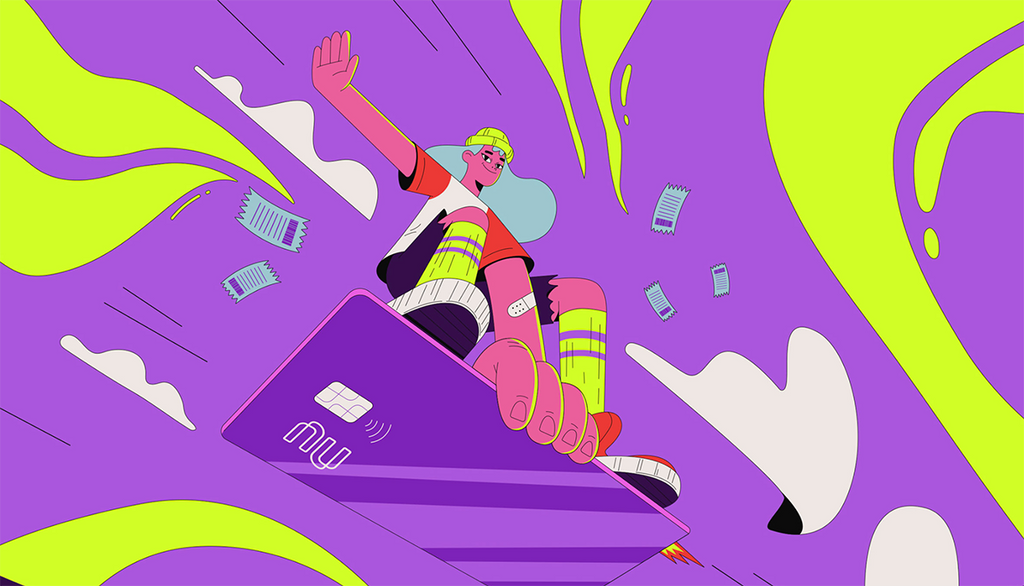
Created by Black Madre | https://www.behance.net/gallery/121724149/Nubank
Cartoon drawing can be taken as a profession or simply as pure pleasure. Famous cartoonists like Martin Rowson, Graeme Mackay, and Kevin Smith started their careers as a hobby. For those who have this hobby, sketching cartoons is a way to represent their feelings that cannot be expressed in words. It is an art to represent a real or imaginary situation in a funny way. This little imagination lets people draw cartoon characters with all kinds of funny features.
When you finish drawing your favorite cartoon characters, you can also choose to transform them into adorable items such as bottles, books, cards or even custom lanyards. A good lanyard can serve multiple purposes, such as holding mobile phones, water bottles, bags, etc., and they can also be given as creative and thoughtful gifts to your family and friends who will surely appreciate them.
Now back to cartoon characters, sketching a cartoon is not a form of any complicated painting. Instead, it is simplified for line art that can be learned with some simple techniques. Here are ten simple steps you can learn if you want to draw cartoon characters.
1. Look for Ideas
The very first step to start the creative process is to look for an idea. Before you come up with a particular idea, you cannot start to draw cartoon characters. If the sketch is for a profitable purpose, it is recommended that you conduct thorough keyword research to know what cartoon characters that people are currently interested in. Then, you can develop the design based on what is trendy right now into a fresh cartoon character that would draw more interest.

Created by Jhonata Alves | https://www.behance.net/gallery/101556553/Character-design
2. Learn How Geometric Shapes Help Draw Cartoon Characters
Circles, squares, triangles, and other geometric shapes allow you to draw stylistic proportions while at the same time giving the characters unique personalities. In other words, these geometric shapes help you draw various cartoon characters. Before you start, prepare a pencil, eraser, and some pieces of paper. Then, let’s be familiar with the forms you will be using. Most of the time, you will use circles, ovals, rectangles, triangles, and squares to render the head and body of a cartoon character. Here are what you can do with these shapes when you draw cartoon characters.
2a. Circles and Ovals
Circle and oval are the most frequently used shapes when creating cartoon characters. These two shapes are very versatile, that you can use them to create just about anything. For example, you can draw a simple cartoon eye by placing an oval inside of the circle. An oval also functions as the basis for a head facing the front. You can also illustrate the form of a head in a three-quarter view by combining an oval and circle together.
Personalities of a cartoon character can be created from circles and ovals, too. Rounded shapes illustrate the softer appearance and demeanor of the characters. That is why these shapes are typically used to draw women, children, and friendly protagonists.

Created by Anastasiia Andreieva | https://www.behance.net/gallery/122317839/Sketchbook-2020-2021
2b. Square and Rectangles
While ovals and circles create a cuter character look, boxy shapes create a stronger look. Using these shapes to sketch the faces and heads of your characters, you will find them appear stiffer. That is why squares and rectangles are usually used to create more severe kinds of characters.
Squares and rectangles are especially helpful in creating hands, legs, torsos, and other solid forms. For example, a square serves as a base for sketching a person’s palm, while a rectangle can be used to start sketching simple fingers. By attaching rectangle fingers and a thumb to the square, you can draw a stylized hand. Similarly, you can create a fist by dividing a square in a horizontal way, then separating the top rectangle into fingers. After that, add three conjoined rectangles to add a thumb on the side.
Created by Anastasiia Andreieva | https://www.behance.net/gallery/122317839/Sketchbook-2020-2021
2c. Triangles
The other commonly used shape to draw cartoon characters is a triangle. Unlike circles and squares, which are usually used to draw faces and eyes, triangles have their own uses. For example, they can be a simple nose for your character. To draw a simple nose, you can outline a triangle and then erase one side. It is also okay to use the entire shape. Furthermore, triangles are often used to draw shoes or feet from many different angles. For this purpose, triangles are very effective shapes. To draw a sneaker or flat, for example, you can simply sketch an isosceles triangle and fill it with certain details.

Created by Anastasiia Andreieva | https://www.behance.net/gallery/122317839/Sketchbook-2020-2021
2d. Combination
Two or more different shapes can be combined to draw the body of a cartoon character. Using different shapes to draw cartoon characters helps you understand proportions on a basic level and make it easier to make some adjustments before you move into a more advanced step. Start with the head by sketching as square or circle. After that, add a short rectangular neck to the bottom. Then, decide the body type of your character. This is important since the decision will determine the shape of the torso, whether it is an oval, triangle, or rectangle. Then, illustrate the arms and legs by attaching rectangles to the torso.
It definitely needs a lot of practice to determine the suitable shapes to illustrate your character, and this may take a lot of time, too. It is okay, though. By trying different shape combinations, you will find out what you like and what you don’t, and this will help illustrate and develop your own style in sketching cartoon characters.
Created by Anastasiia Andreieva | https://www.behance.net/gallery/122317839/Sketchbook-2020-2021
3. How to Draw a Cartoon Face
As you have learned some basic shapes to illustrate and draw cartoon characters, you are ready to move into the next step, which is to draw a cartoon face. First of all, start to illustrate the cartoon face. A circle is all you need to illustrate the face of your character because it is the basic cartoon shape. From the circle, you can illustrate the basic proportions of the character’s head.
When the circle is ready, determine the axis of the face. Because it is a cartoon, of course, the face does not need to be perfectly symmetric like real humans’ faces. Depending on your imagination, you can trace the face axis. To start with, draw a horizontal and vertical line intersection at the center. This axis helps to determine the position of eyes, nose, mouth, jaw, and other facial features.

Created by Jordi Villaverde | https://www.behance.net/gallery/100093519/FACES
4. How to Draw Cartoon Eyes
To illustrate the eyes, make an oval shape with a small tilt to the side at the top. Do the same to the opposite side. Make sure there is a gap between both eyes of approximately the same size as an eye. To help you determine the length of the gap, draw another eye in the center. This strategy is very helpful to serve as a measure in the drafting phase.
After the eyes are ready, it is time to draw the eyelashes of your character. To do so, slightly thicken the trait at the top of the eyes. A bit above the eyelashes, place eyebrows to create a kind of surprised expression. There is no exact form for the eyebrow, meaning you are free to create your own style that suits your character.
The next step is to draw pupils. Many cartoonists illustrate both pupils are directed to the center to make the character look cuter. It is considered a very effective tactic if your purpose is also to make the cartoon character look more charming and loveable. If you want to illustrate more life and realism to the eyes, add a small line right below them to create a kind of wrinkle. This is another useful strategy that illustrates a special touch to the character’s facial expression.

Created by Anastasiia Andreieva | https://www.behance.net/gallery/122316397/Animals-character-design
5. How to Draw other Features
The major structures of a face in cartoon-style designs are the eyes and the skull or head of the character. It depends a lot on your creativity to draw the rest part of the face, but there are some tactics you can always learn to illustrate particular features. To illustrate the jaw, for instance, you need to first decide whether you want a thin or fat character, whether the character is young or old, and so on. To design the nose, usually, not many details are involved, especially if the nose is supposed to be seen from the front. It is also common to illustrate only one side of the nose of only the tip.
What about the mouth? To illustrate, a mouth is also simple. It depends on how old the character is. If it is a child, the mouth should be simple just to represent an innocent expression. When sketching a small child’s mouth, you should not draw the lips. The mouth just needs a good and expressive trace. In most carton styles, children, whether they are boys or girls, have very simple mouths.
Now, let’s move on to the ears. Sketching this part is probably the most challenging due to the ears’ regular shape. The good thing is you can be as creative as you want since there are no guidelines to illustrate ears. Just like other features of the face, ears vary in styles from very simplified to more realistic. You can start by deciding the placement of the ears. Commonly, cartoon ears are placed lower down on the head than real ears. First, make a horizontal line through the center of the head, then make another horizontal line connecting that line and the chin. The ears should be illustrated between these two lines.

Created by Chris Z | https://www.behance.net/gallery/122738115/Cartoon-3D-Character
6. How to Draw Cartoon Hair
Cartoon hair is usually illustrated based on the real hairstyle, but they tend to be drawn in clumps instead of individual strands. The reason for this is to save time to illustrate the hair. Imagine that you have to illustrate anything overly detailed. Of course, it would consume a lot of time just to deal with hair strands. The most common tactic is to split the hair into different parts, such as the sides, top, back, and front.
6a. Long hair
The most common hairstyle in cartoons and probably the easiest one to illustrate is long straight hair. The first step is to illustrate the hairline from the head. Even though the hairline is fully covered by the hair, it is still important to draw it first to help you better judge the position of each hair section and its overall length. Because the hairline will be erased later, make the line fairly light. Next, draw the front hair in the form of relatively small pointy clumps right over the top of the hairline.
Next, draw the side hair at least to the shoulder-length with its overall shape a little curved. It can be split into some smaller clumps towards the ends. For the back hair, start to draw the top part following the shape of the head and then widen it until it is hidden behind the shoulders.
If you want to draw cartoon characters with messy hair, make the front hair clumps with various shapes and curves, facing a different direction. You can make some of the wavy and some others just curve in one direction to illustrate the messiness. Make the middle part of the clumps reaching further down. Repeat this tactic for the outer clumps of the sides of the front part to illustrate the impression that the cartoon character has bad hair.

Created by Katerina Kasyanova | https://www.behance.net/gallery/104279649/Spirit-of-nature-%28character%29
6b. Short hair
If you already know how to illustrate long hair, it won’t be difficult to illustrate short hair as they are fairly similar. Again, start by breaking it down into three basic sections of front, sides, and back. Then, illustrate the head and hairline. Similar to the long hair, create the front hair part with some small clumps. It is up to you to illustrate messy or neat hair. Same as before, erase areas of the head covered by the hair and make the bottom section of the back hair. Don’t forget to draw some inner fords and some basic shading if you like.

Created by Thais Bolton | https://www.behance.net/gallery/122061291/Warm-up
6c. Pony Tail /Tied Back Hair
Ponytail is another common cartoon hairstyle. As there is no side hair, it will be pretty much easy to illustrate this type of hairstyle. You just need to split the hair into front and back sections. The back consists of the ponytail and the hair over the top of the head.

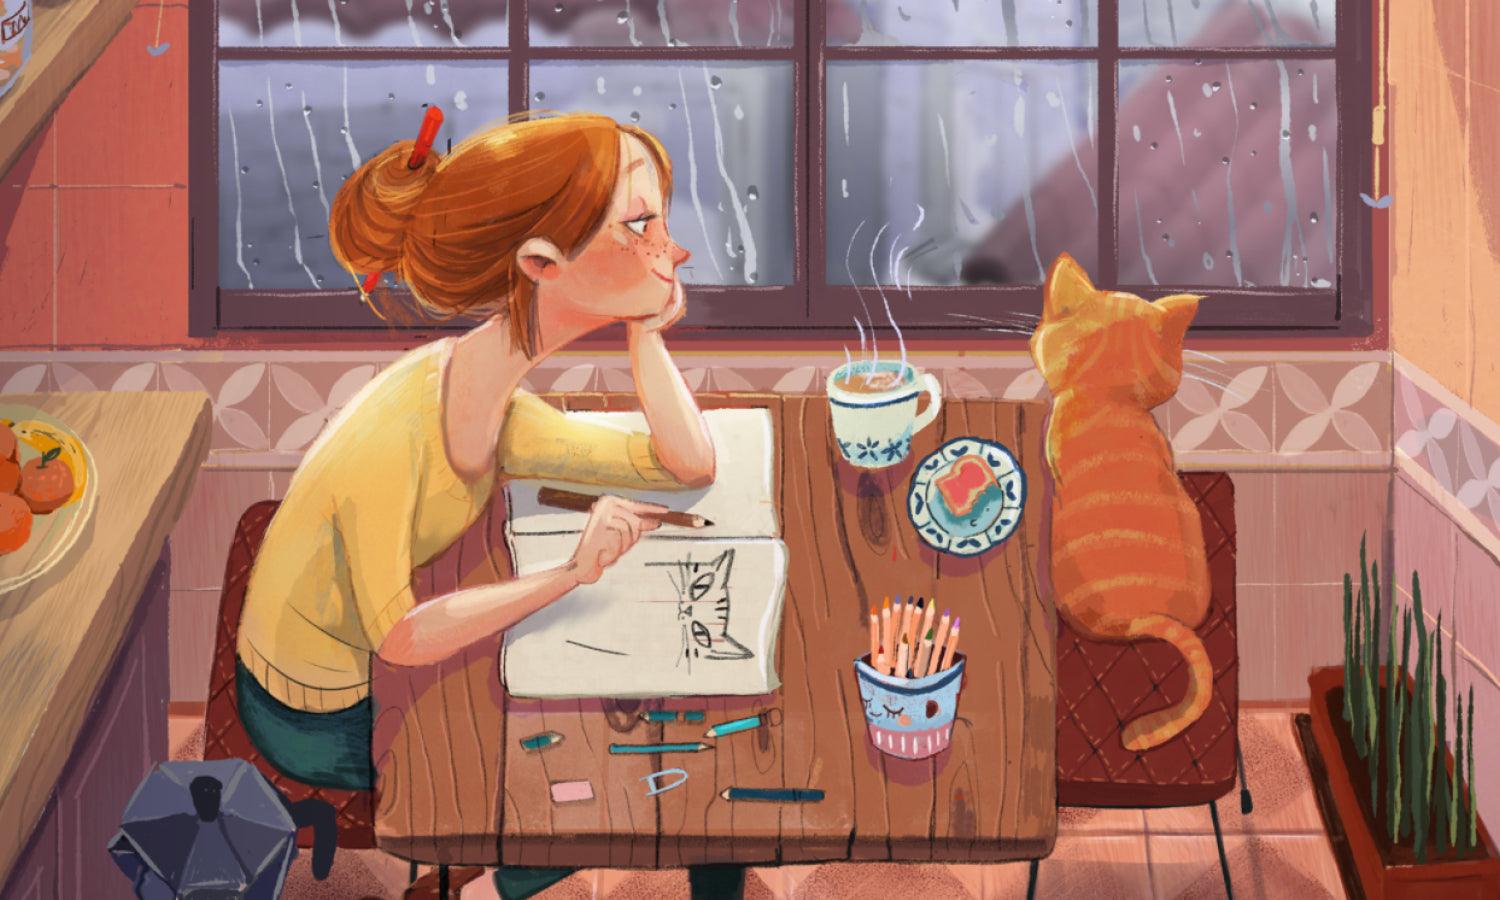
Created by Tracy Joy Sanchez | https://www.behance.net/gallery/122844099/Sunny-Day
7. How to Draw Facial Expression/Illustrate Feelings
When you draw cartoon characters, it is very important to also illustrate their emotion. To illustrate sadness, for instance, draw open eyes and pouting thoughts. Meanwhile, a large curving line that forms a smile can be drawn to illustrate happiness. Moreover, an ‘O’ shape mouth accompanied by a smaller pupil is a great way to illustrate surprise or astonishment.
For anger, draw the eyelids down to illustrate a more contemptuous look. It is also helpful to show the teeth and elevate one side of the upper lip to illustrate that he is starting to lose his temper. What about if you want to illustrate fear? Bending eyebrows can be the way to illustrate that the character is scared and helpless. You can illustrate a more frantic look by drawing the eyebrows like a couple of inverted arches.

Created by Anastasiia Andreieva | https://www.behance.net/gallery/109840691/Christmas-story
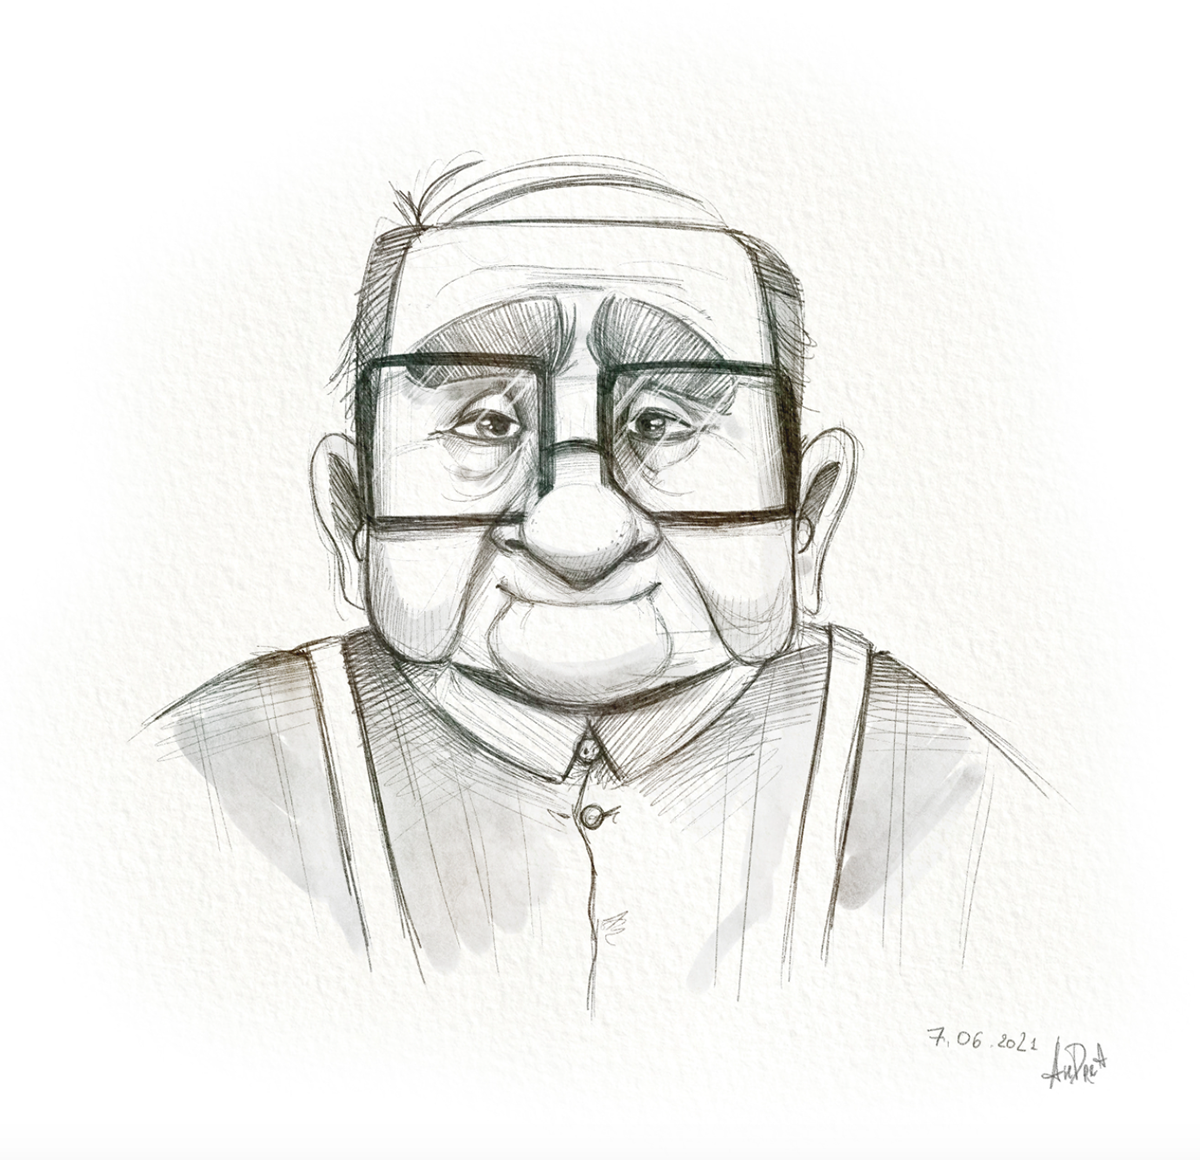
8. How to Illustrate an Old Character
It is fairly easy to illustrate older characters. You just need to add eyebrows, wrinkles, and eye pupils. Older male cartoon characters generally have thicker eyebrows, taking more space on the forehead. For the eyelashes, draw them as usual as they make no difference in men. The other effective technique to illustrate a more mature look, position the nose very close to the bottom of the eyes, so it appears larger and wider. For a male cartoon character, it will be better to draw a big mustache to illustrate his better persona. Last but not least, don’t forget the hair as it helps illustrate age and personality. Leave the head bald on top, for example, really can create a totally different look.

Created by Anastasiia Andreieva | https://www.behance.net/gallery/122627627/CHILDREN-BOOK-Black-and-white-illustrations
9. How to Illustrate Female Characters
Do you know that female cartoon figures can be made from male characters? It is very simple to do so. Of course, male and female cartoon figures look different. Note that women tend to have more delicate facial structures than men. You can draw their eyebrows thinner, their eyelashes larger and more expressive, and their hair longer. In addition, women generally have thinner chins and tinnier with not so many details. For the eyes, you can illustrate large pupils. Only with these few changes can you illustrate the female cartoon character to look so much different from the male one.

Created by Bobbo Andonova | https://www.behance.net/gallery/112357061/Miko-character-design
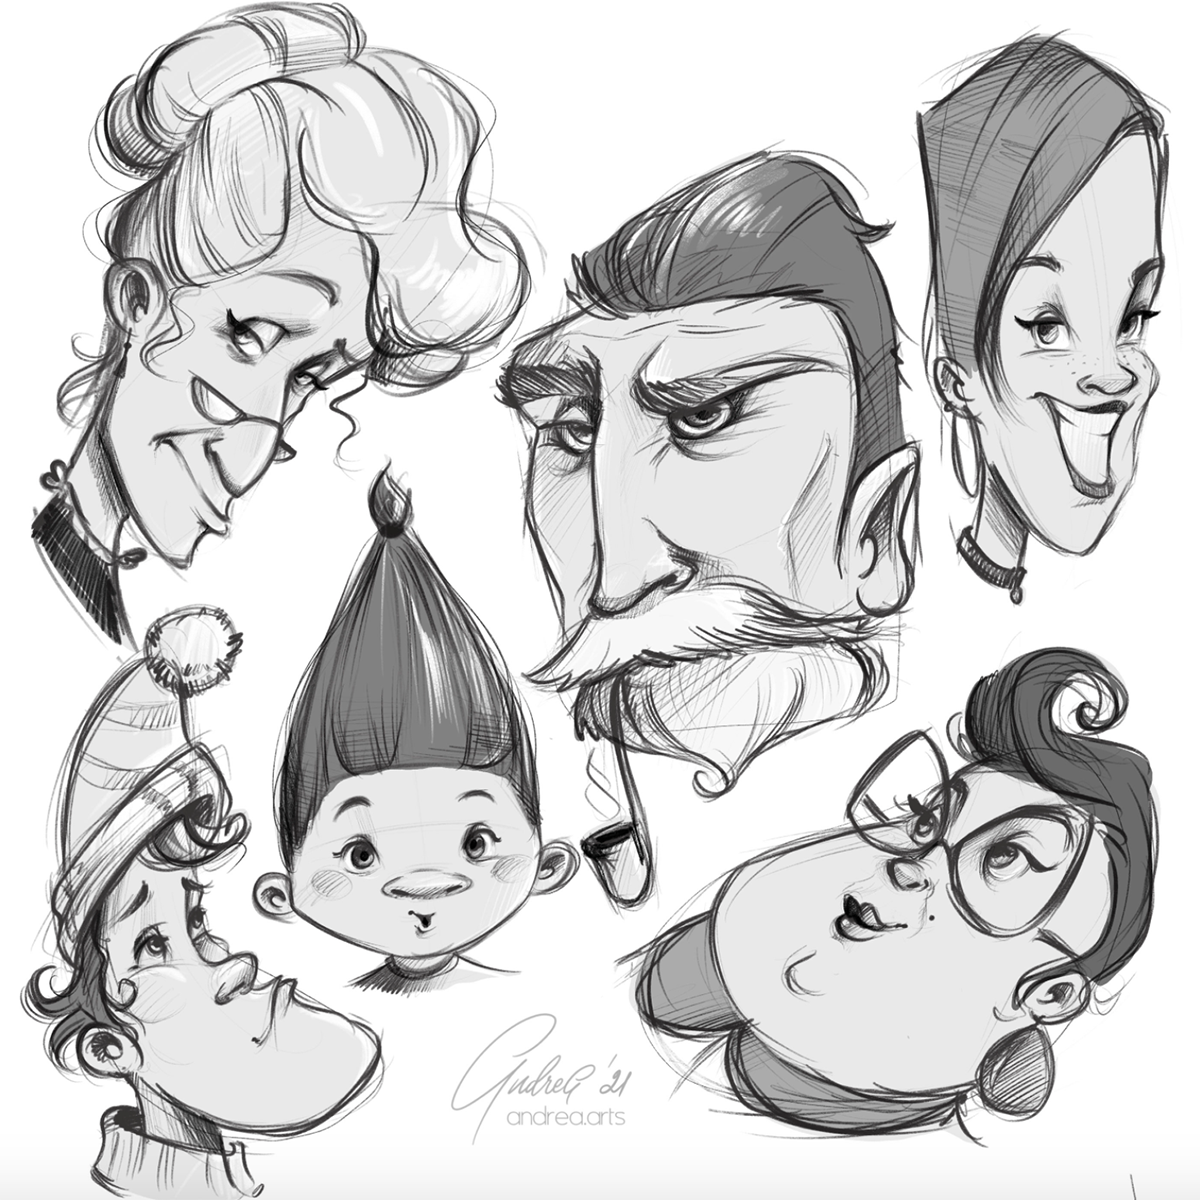
10. How to Play with Angles
When you draw cartoon characters, it is very important to learn how to play with different angles. Every feature of the face and body of cartoon characters changes their shape when seen from different angles. They need to react to different objects and situations around them. Therefore, you need to draw the cartoon characters in every possible direction to illustrate the angle.
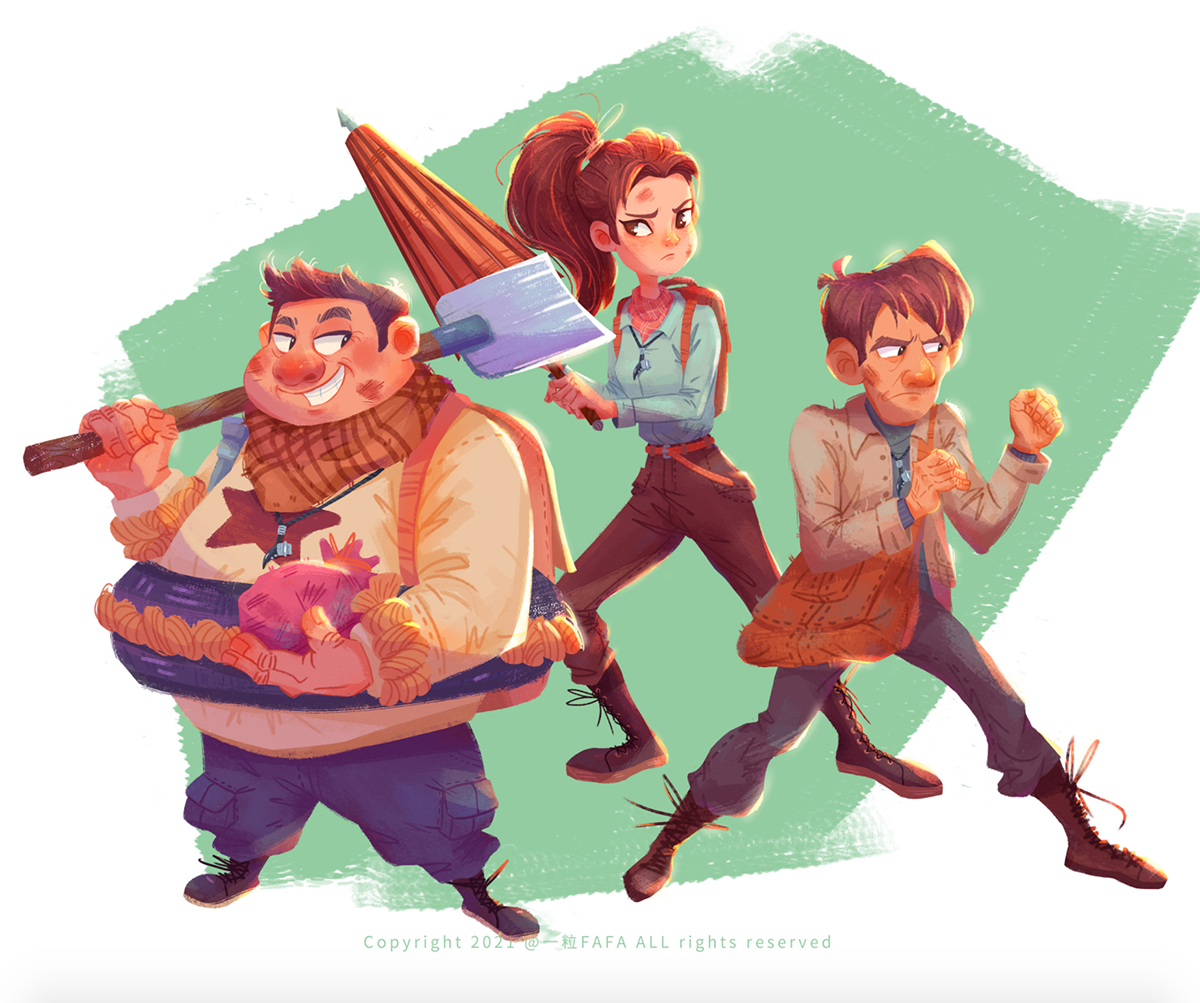
Created by 一粒 FAFA | https://www.behance.net/gallery/116636763/Cartoon-character-illustration
Final Words
After you learn all of the steps on how to illustrate cartoon figures above, the most important thing to do is to have a lot of practice, as this will significantly improve your skills. Having natural talent is a plus, but the more important thing is passion and practice. If you plan to be a cartoonist, attending an art school or taking some courses related to cartoon sketches such as multimedia art, animation, and graphic designing, are also necessary.
Related Articles


1 comment
Awesomeness! Excellent advice!
Georgette Callihan
Leave a Comment